Create a new Xamarin Forms application or open your existing application.
Android
If targeting Android:
- Add a reference to MindFusion.Scheduling.dll, MindFusion.Scheduling.Android.dll, MindFusion.Common.dll and MindFusion.Common.Android.dll to your solution's Android project.
- In MainActivity.cs, call MindFusion.Scheduling.Android.Platform.Init after Xamarin initialization code.
C#
 Copy Code Copy Code
|
|---|
protected override void OnCreate(Bundle savedInstanceState) |
iOS
If targeting iOS:
- Add a reference to MindFusion.Scheduling.dll, MindFusion.Scheduling.iOS.dll, MindFusion.Common.dll and MindFusion.Common.iOS.dll to your solution's iOS project.
- In AppDelegate.cs, call MindFusion.Scheduling.iOS.Platform.Init after Xamarin initialization code.
| C#
Copy Code
|
|---|
public override bool FinishedLaunching(UIApplication app, NSDictionary options) |
Universal Windows
If targeting UWP:
- Add a reference to MindFusion.Scheduling.dll, MindFusion.Scheduling.Universal.dll, MindFusion.Common.dll and MindFusion.Common.Universal.dll assemblies to your solution's UWP project.
- In App.xaml.cs, call MindFusion.Scheduling.Universal.Platform.Init after Xamarin initialization code.
| C#
Copy Code
|
|---|
Frame rootFrame = Window.Current.Content as Frame; |
Shared project
- Add a reference to MindFusion.Scheduling.dll and MindFusion.Common.dll to the shared Xamarin UI project.
- Open the content page xaml file and add scheduling namespace definition and Calendar instance:
| Xaml
Copy Code
|
|---|
<?xml version="1.0" encoding="utf-8" ?> |
- In C# code-behind file you can now access members of the Calendar class -
| C#
Copy Code
|
|---|
public MainPage() |
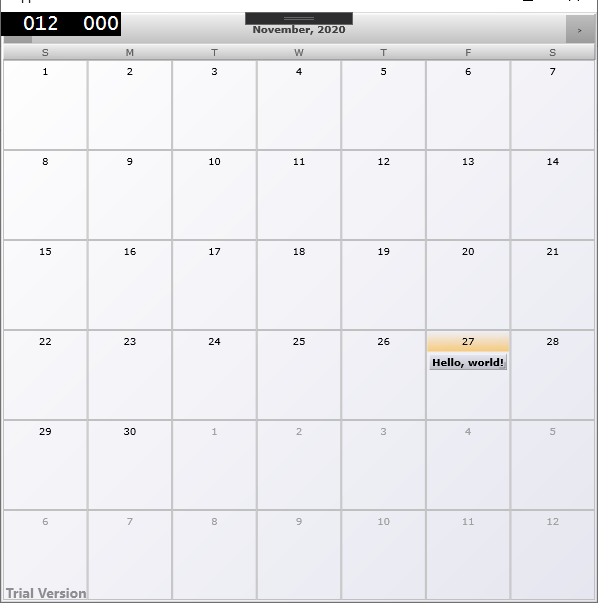
Running
From the context menu of the platform project you wish to run select 'Set as StartUp project'. In CPU and target device drop down boxes of Visual Studio select the appropriate device and hit the Run toolbar icon. If there are no compilation or deployment errors, you should see this simple calendar: