I. Tile Map Servers
The mapping library needs to connect to a tile map service (TMS) that will provide the images to be rendered. A sample list with such services can be found on the Wikipedia website:
https://wiki.openstreetmap.org/wiki/Tile_servers. In our tutorial we will use the stamen tile service available from
http://stamen.com.
II. References
The map library requires a reference to the JavaScript Mapping file:
HTML
 Copy Code Copy Code
|
|---|
<script src="drawing.js" type="text/javascript"></script>
<script src="controls.js" type="text/javascript"></script>
<script src="common.js" type="text/javascript"></script>
<script src="common-collections.js" type="text/javascript"></script>
<script src="mapping.js" type="text/javascript"></script> |
We place the references at the end of the web page, right before the closing <body> tag. The map needs to be associated with an HTMLElement, we typically use a <DIV>. We create it somewhere inside the page:
| HTML
Copy Code
|
|---|
<div style="position: absolute; width: 100%; height: 100%;">
<div id="mapView" style="height: 100%; width: 100%;">
</div>
</div> |
We assign an id to the <DIV> element so we can reference it in the JavaScript code. We can use a separate JavaScript file for our application or place the code in the <HEAD> section of the web page. We opt for a separate JS file, which we call MinApp.js. We add a reference to it after the references to the JavaScript files of the library:
| HTML
Copy Code
|
|---|
...
<script src="mapping.js" type="text/javascript"></script>
<script src="MinApp.js" type="text/javascript"></script>
</body>
</html> |
II. Creating the Map
In the MinApp.js file we first add a mapping to the MindFusion.Mapping namespace:
| JavaScript
Copy Code
|
|---|
var m = MindFusion.Mapping; |
Then we need to create an instance of the MapView class. This is the Control that renders the map. The constructor requires a reference to an HTMLElement - we provide the <DIV> that we've created in the web page:
| JavaScript
Copy Code
|
|---|
// create a new instance of the mapView
view = new m.MapView(document.getElementById("mapView")); |
Now we must create a MapLayer. The MapLayer is the one responsible for arranging the tiles and navigating through them:
| JavaScript
Copy Code
|
|---|
var l = new m.MapLayer(); |
The MapLayer needs to be associated with a Tile Map Service. This is done through the urlTemplate property. Another property, attribution, lets you credit the TMS providers if you have to:
| JavaScript
Copy Code
|
|---|
// create a map layer
var l = new m.MapLayer("Map");
l.urlTemplate = "http://d.tile.stamen.com/terrain/{z}/{x}/{y}.png";
l.attribution = "Map tiles by <a href="http://stamen.com">Stamen Design</a>, under <a href="http://creativecommons.org/licenses/by/3.0">CC BY 3.0</a>. Data by <a href="http://openstreetmap.org">OpenStreetMap</a>, under <a href="http://www.openstreetmap.org/copyright">ODbL</a>."; |
Finally we need to add the MapLayer to the layers property of the MapView and call the load method to load all layers.
 Note Note |
|---|
Remember always to call MapView.load after you've finished customizing your map. |
The load method requires a
LatLong instance, which specifies the location that will be in the center of the rendered portion of the map. It has a second optional parameter that specifies the zoom factor:
| JavaScript
Copy Code
|
|---|
view.layers.add(l);
view.load(new m.LatLong(52.523430, 13.411440), 15); |
That's all we need to do in order to have an interactive map in JavaScript. By default the MapView renders a zoom control and panning is enabled. You can change that with the showZoomController, allowPan and allowZoom properties.
Here is the final result:
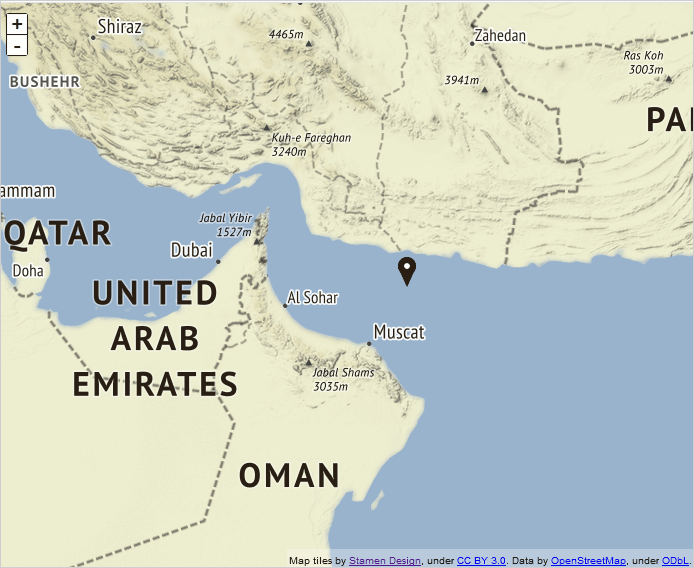
This map was built following the steps above.


